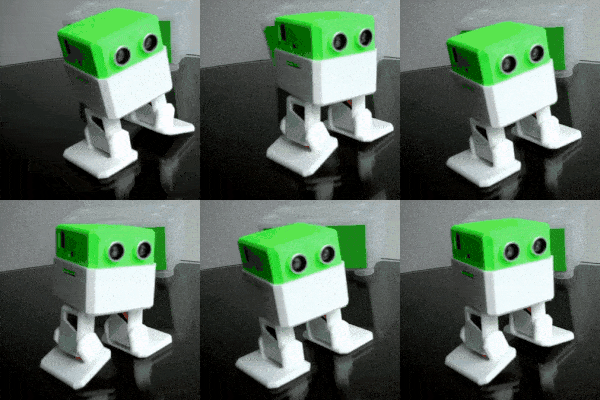
My wife got me a 3D printer for my Birthday/Christmas. I’ve printed a few little things since then, but I’ve been itching for a bit of a project. I didn’t want anything too ambitious but, clearly, there’s no point in doing something that can’t fail.
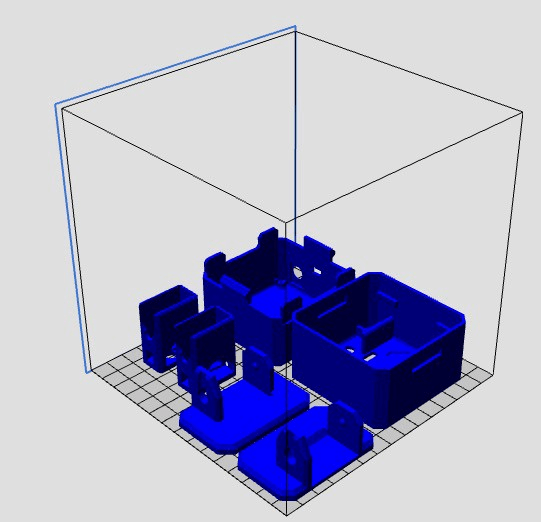
Not how I ended up printing it
After much searching, I decided upon Otto DIY robot , a walking, dancing, obstacle avoiding robot.
In this post I’ll talk about how I prepared for the project and my thoughts on its likely success (or otherwise).
The 3D print is bigger than anything I’ve done before but not necessarily any more complex.
The part of the project that I have the least experience with is the electronics. I’ve never really been a “hardware” person, though I built a 68000-based computer while at university. Fortunately Otto uses an off-the-shelf embedded computer called an Arduino so my terrible soldering skills won’t be tested.
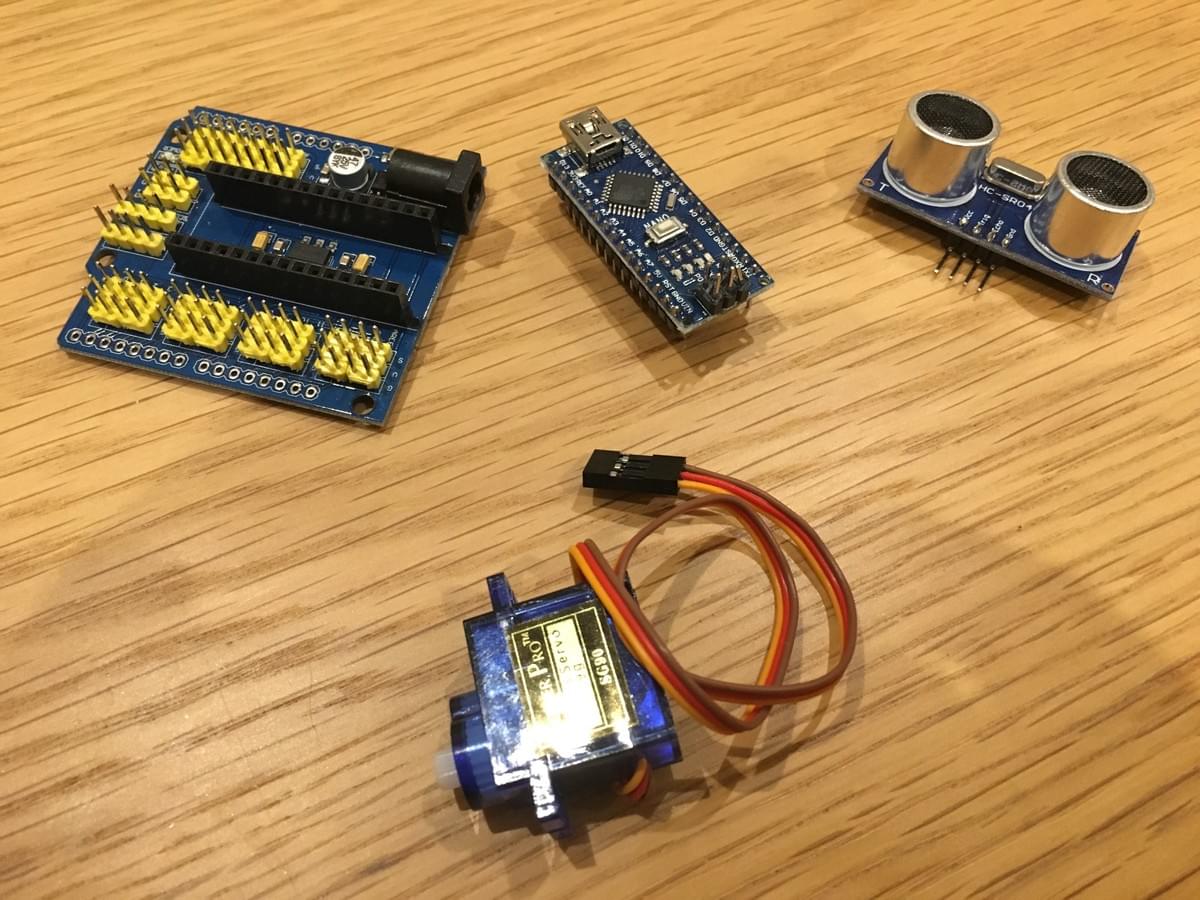
What is complex for someone that doesn’t live and breath it, is the Arduino ecosystem. There are a number of different boards (varying both in size and features) and it’s open source so there are quite a few compatible variants available too. I picked a cheap compatible version. I do wonder if this will cause problems further down the line.
The “nano” has few built-in ports, so you need an I/O “shield” that plugs into the Arduino’s pins. That was nearly as expensive as the actual computer!
Finding small volumes of the other components proved a little tricky. Once you factor in delivery, it became almost as cheap to order ten servo motors rather than the four that I really needed. I’m sure I’ll find something to do with the others!
Anyway, I ordered all the bits and pieces that I think I need. It’s entirely possible that some of them are wrong. We’ll see.
3D printing
Surprisingly, for someone who has been playing around with computers since I was eleven but only had a 3D printer for a month, I was much more worried about the electronics than the actual making stuff.
So confident, in fact, that initially I placed all six pieces into one print job.
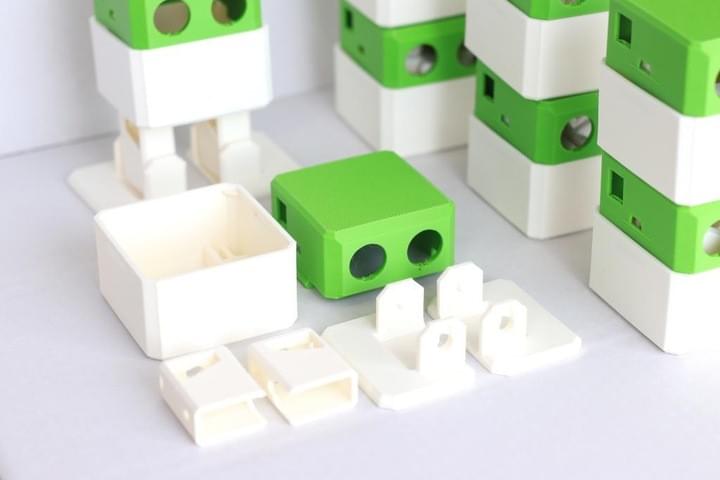
Then I chickened out. I switched to four prints: the body, the head, the feet and the legs, in that order.
In one sense, I need not have worried. All the pieces came out just fine, though it took longer than I anticipated. The body, I naively guessed, would take two, maybe three, hours. Nope. Nearly eight!
Suitably chastened, I allowed ample time for the others.
The head and the body connected together with a satisfying snap. Things looked a little worse when I tried to place the electronics inside. The IO Shield fit in so snugly that I was worried that I wouldn’t be able to get it back out. The “eyes” and the motors didn’t quite fit in at all. The apertures were just slightly too small.
I worried how much surgery would be required, but in the end a little scraping around the edges with a sharp knife did the trick.
Overall: fairly straight forward.
Electronics
I was least sure about all the electronics. They components arrived and… they sure looked okay. I didn’t think the buzzer looked quite right — it looked too big, but I figured that it even if a little lose it should make something approaching a buzzing noise.
The computer itself arrived poorly packaged, with a bunch of the pins bent. I managed to right them without breaking anything.
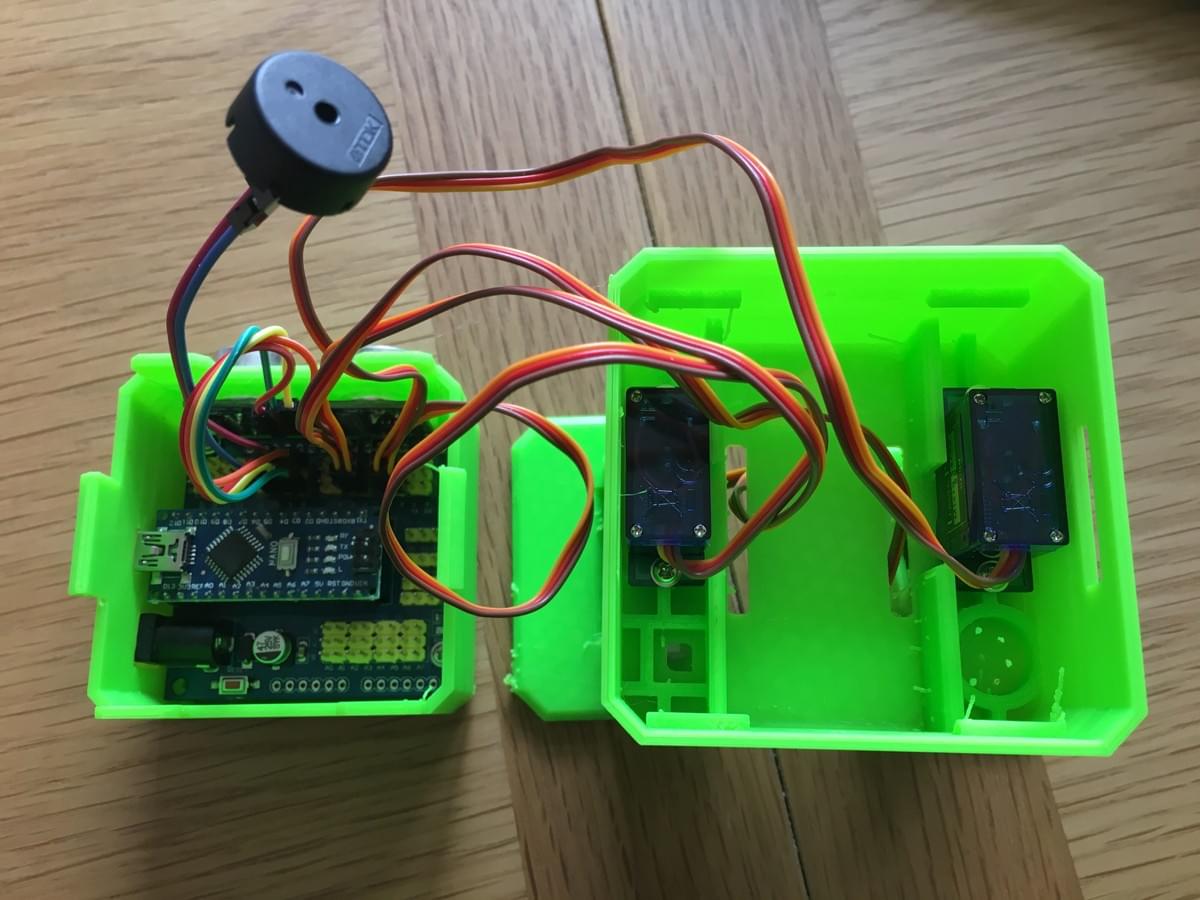
Arduino Nano, IO Shield, “Eyes” and stepper motor.
And talking of breaking things: I plugged in the Arduino and… nothing. Eventually I realised that I needed to install a Serial-USB device driver. The Otto download came with a CH341 (as it’s creatively called) driver so I installed it, rebooted and… well, when you see text scrolling up the screen when you boot your Mac, either you accidentally jabbed command-V or something bad is happening. In this case, the latter.
I tried the Arduino before bundling it into the plastic body just to make sure I had the fundamentals down. I plugged in the IO Shield and one of the motors. I press “Upload” in the Arduino app and… seemingly nothing at first. Then blinking. Then the motor started whirring rhythmically.
I picked out a few other example apps and tried those. The best one, at least in the sense that it proved that I was doing the right thing, just blinked one of the boards LEDs. It looked like it worked, so I changed the delay from one to two seconds and saw that that worked too.
Nice.
Now all the bit are made and shown to be more or less Known Good, it’s time to assemble Otto.
Assembly
With all the pieces printed or purchased, it was time to assemble Otto.
Since I’d already tested the Arduino and enlarged the holes for the eyes and stepper motors, the process of putting it together was actually fairly uneventful.
Because of the small size, some parts were very fiddly but it wasn’t hard per se. Kudos to the people who put the instructions together!
I came across three minor problems:
First, I pushed one of the screws in too far, so that it looks as though it has a small horn. I almost did the same thing on the other side so it would, at least, look symmetrical. It’s not a big deal but I know it’s there! It’s not worth re-printing the head for so I’ll have to live with it!
Second, the battery pack hasn’t arrived yet so I had to run Otto only when connected to power via USB — a computer works but so did the power brick from our Amazon Fire tablet.
Finally, as I speculated, I think I ordered an incorrect part. Fortunately it was only the buzzer so it isn’t critical. I’ll probably try to fix this soon.
With the robot assembled and its head snapped into place, the next thing to try was powering it up and seeing it dance and avoid obstacles.
Had I not played with the electronics separately I probably would have freaked out and assumed it wasn’t working. As I found, it takes a few seconds to download the software and reboot and, unlike before, I couldn’t see any of the lights flashing as they were all now inside Otto.
My patience paid off and he started dancing on the first try. The kids, who had lost interest during some of the more intricate fiddling around that was required earlier on, were suddenly excited again. Actually, make that kids of all ages were excited!
I was impressed that it worked on the first try. The dancing is pretty cool. At one stage I’m its routine it tries to stand on tip-toes and falls over every time. I suspect it would have to be very finely tuned for that ever to work. One of his legs could do with a little calibrating but it works well enough.
Next I uploaded the “obstacle avoidance” program. I found this a little less reliable than the dancing, but it did walk, then stop and tap its foot when you wave your hand in front of its eyes.
Overall, it was a great little project. “It works” is a pretty boring conclusion, but it’s true. I expected far more to go wrong. I’m happy that it didn’t.
