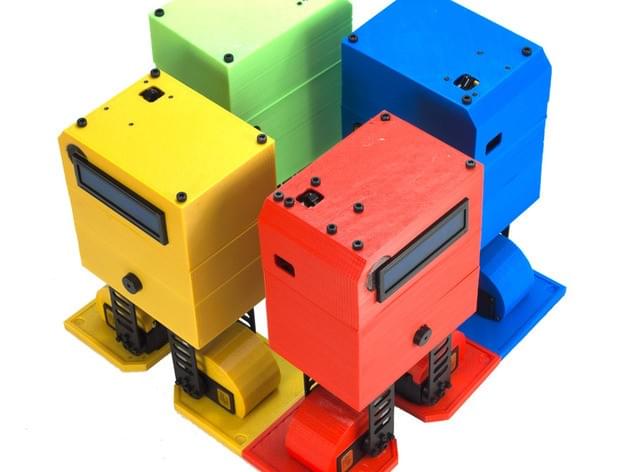
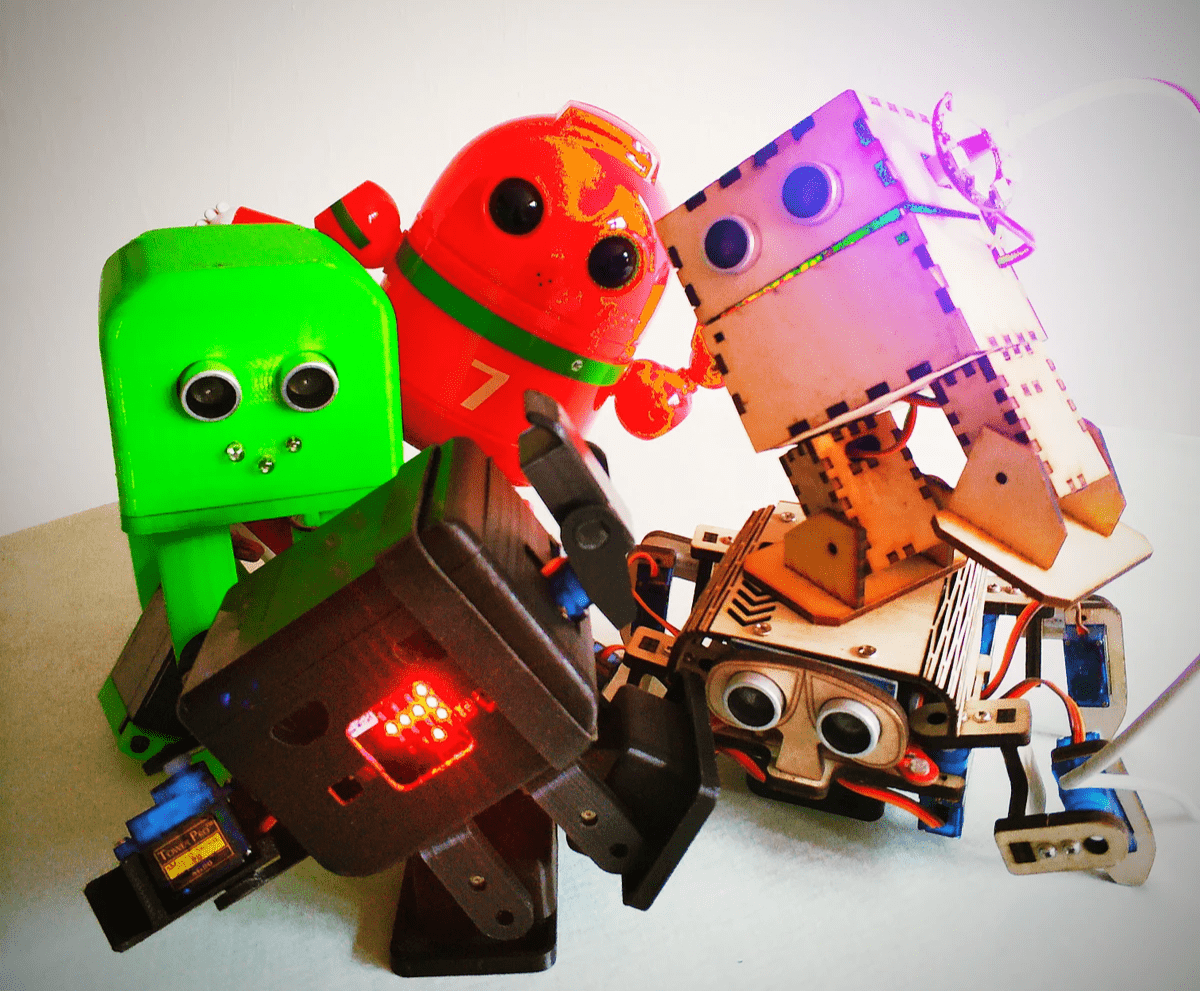
Did you know that Otto teaches not only how to build a robot but also how to design a robot? Discover how to design a robot using TinkerCAD and 3D models.
The Kits, Tools, and Know-How: How to Design a Robot with Otto
You can discover robot design, play with interactive 3D designs, “remix” Otto, and share your latest creations. Find inspiration through other 3D designs, or show off how to design a robot with your own unique approach.
Using TinkerCAD, you have an introduction to 3D modeling and 3D printing. It is suitable even for beginners in 3D design, and for robot enthusiasts of all ages. In fact, it’s even extremely popular in STEM / STEAM education to introduce young students to the skills of tomorrow.
In this post, discover how to design a robot with Otto using TinkerCAD and 3D modeling.
Using TinkerCAD
TinkerCAD is an intuitive, user-friendly software that works on your browser. Anyone, including children, can quickly learn 3D design, electronics, and coding with this app. It doesn’t matter if you’re completely new to 3D design or 3D printing.
This app was developed for anybody interested in designing or customizing educational robots. It’s in use by teachers, kids, hobbyists, and designers the world over to “imagine, design, and make anything”.
But why tell you when we can show you. Have a look at the video below (courtesy of CEFIM, France). This is the first video of a series on how to design a robot using TinkerCAD.
In the video, you can see how to use TinkerCAD for 3D conception with the main purpose of customizing an Otto robot. The video includes a tutorial on the basics of TinkerCAD, from creating an account, to using the dashboard, and how to create a grid on the dashboard.
Why TinkerCAD has become popular in the classroom
Around the world, STEM / STEAM is seeing more adoption in curriculums of schools supporting the skills of tomorrow. STEM stands for Science, Technology, Engineering, and Mathematics. STEAM adds the Arts into this equation, integrating subjects to teach skills in a way that more resembles real life.
Both STEM and STEAM provide educators a more effective and meaningful way to connect with and engage students. Often, this is through STEAM projects involving robotics, programming, 3D design, and 3D printing.

Through these mediums (like learning how to design a robot), students discover the connection between coding, 3D design, engineering, and electronics. And this is where TinkerCAD has become an invaluable asset in the classroom.
TinkerCAD makes it not only fun but easy to introduce students to CAD, 3D modeling, and robotic design. As students progress, they plan how to design a robot with code, customize it, and 3D print it. The software is free, and makes for the ideal introduction to Autodesk, the leader in 3D design, engineering, and entertainment software.
Learning TinkerCAD to design and customize Otto
Need to quickly learn TinkerCAD? OttoYouTube channel has a wealth of resources for you.
In this course, learning objectives include the following -
- Learn how to design a robot with TinkerCAD.
- Arouse interest in 3D modeling and its entertainment possibilities.
- Use 3D modeling in the world of Otto.
- Improve the perspective sense of three dimensions.
- Introduce CAD technology.
- Design your own virtual objects.
Great for learners of all ages, this course is suitable even for primary / elementary school students. It introduces 3D design and 3D printing through robotic design, and covers more advanced functionalities of TinkerCAD. Learn how to use a work plane, the ruler, and how to align and group objects for any type of robot you have in mind.

From TinkerCAD 3D models to 3D printing
After you’ve devised how to design a robot using TinkerCAD, you can then export your object as an STL file for 3D printing. STL is a file format native to CAD software, and these store information about 3D models.
This information can serve as instructions for a 3D printer to recreate the surface geometry of a 3D object. Want a moustache for your robot? How about a top hat, or maybe even a samurai sword?
Your 3D printer will recreate whatever custom features you dream up for Otto. Simply design the external casing and any add-ons you’d like to see in TinkerCAD. Then export the STL files, and you can immediately begin 3D printing a custom robot.
In 8 hours (or less with a high-end 3D printer), you can print all of the external component parts for Otto. We even have a library of STL files to get you started, including the standard casing, head, arms, legs, and switches.
Want to discover more?
Learning how to design and 3D print a robot is only half of the fun with Otto. You also discover robotic assembly, mechanical and electronic engineering, and, finally, robotic coding.
Otto is an Arduino robot that can be programmed in Blockly (for beginners), or in more advanced coding languages like Python. It’s remote controlled via Bluetooth on any Android or iOS device.
Otto even supports Scratch AI for super quick and easy coding. Program Otto to walk, dance, make noises, synchronize, avoid obstacles, retrieve objects, and anything your design allows.
To learn more, contact us today.
Follow us on Facebook, Instagram, & Twitter, or join our thriving Builders' Community for more on how to design a robot.


